


Installer of Wood Floor
Tools & Materials
- Pneumatic Flooring Nailer
- Drill with Drill Bits
- Hammer
- ¾-in Solid Hardwood Floor Planks
- Transitions and Mouldings
- Matching Wood Putty
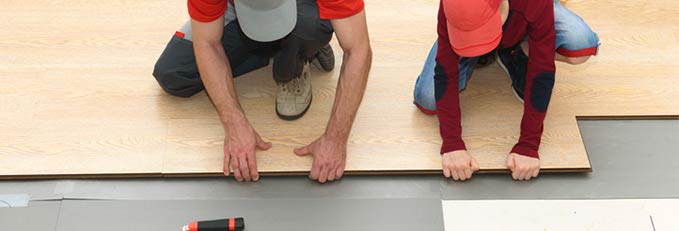
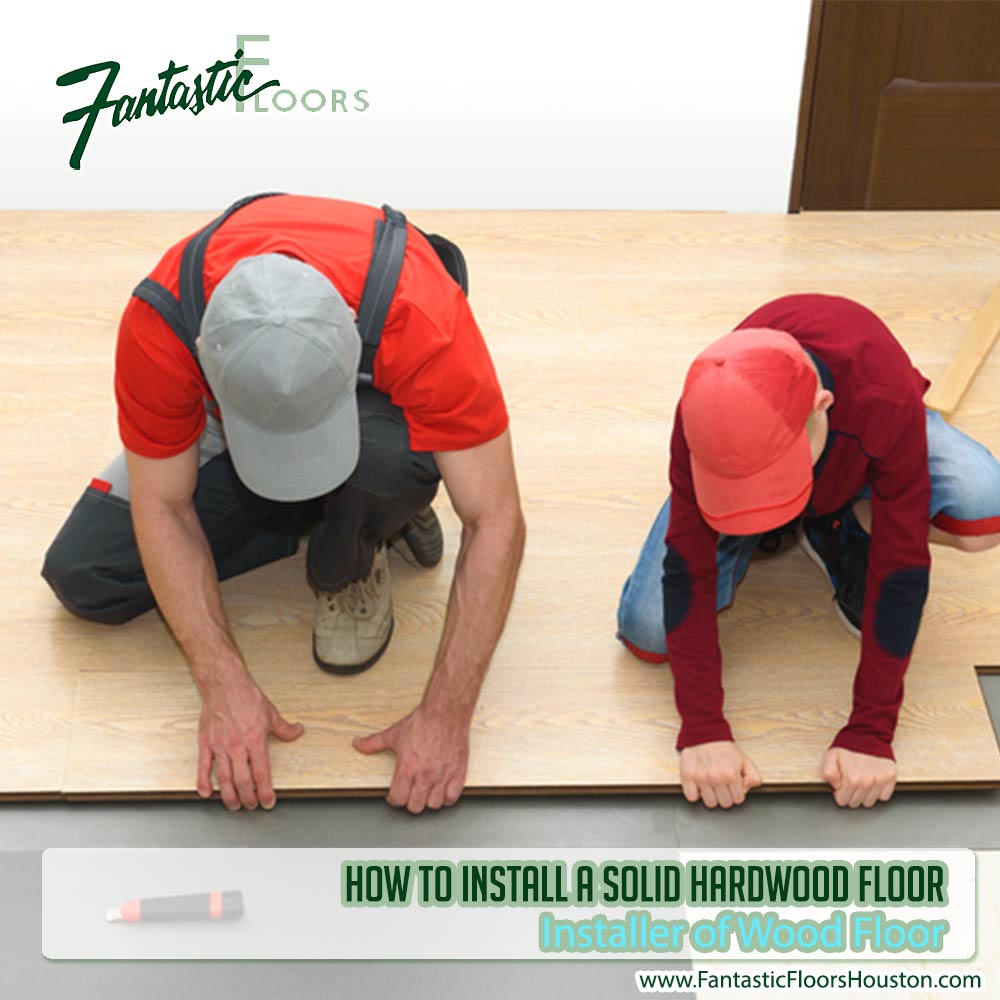
Step 1
For your first row, you’ll want the straightest planks, arranged with the tongue side facing the center of the room. Place spacers inside the expansion gap – the space between the wall and floor that allows for wood expansion from heat and humidity. Pre-drill nail holes 1/4 inch from the narrow side of the plank at 1/2 inch from the wall. Continue at 6-inch intervals for the length of each board.
Step 2
Because the pneumatic nailer is hard to maneuver near the wall, face-nail the first few boards in place. Countersink the nails with a nail punch and fill the remaining hole with matching putty. Then, blind-nail at a 45-degree angle through the tongue. Make sure to countersink the nail so it doesn't interfere with board-to-board connection.
Step 3
On the second row, lock the tongue and groove and tap them together with a mallet and block for a tight fit between the boards. Stagger the ends six inches between adjoining boards, cutting the end board if needed, to create a stronger, more attractive flooring pattern.
Step 4
Blind nail the second row through the tongue and repeat the process until you’re able to use the flooring nailer. The flooring nailer requires room to work, so it typically cannot be used until two to four rows into the floor. When using a flooring nailer, be sure to install the nailer's protective boot to protect the flooring.
Step 5
wood glue floating in the groove of a small final piece of solid hardwood flooring
When you get to the last rows, switch back to nailing by hand. On the last row, cut the pieces to fit, measuring the distance from the wall to the board – not the tongue – and minus the expansion gap.
Step 6
nailing shoe moulding back into place above the new solid hardwood floor
Install the transition pieces according to the manufacturer’s instructions and remove spacers. Cut the underlayment and re-attach baseboards and shoe mouldings to the wall, not the floor.
Source: lowes
About Fantastic Floors, Inc. We are a successful company with more than 25 years of experience in the market, we have the infrastructure, high quality equipment, materials and supplies to achieve and exceed the expectations of our customers, allowing us to gain the confidence and loyalty for our services .
We have more than 500 residential, 300 properties and 25 commercial customers totally satisfied with our services.
Installer of Wood Floor.
Carpet Cleaning Vendor in Houston, Carpet Repair, Carpet Treatment, Companies for Carpet Repair, Companies for Carpet Treatment, Companies for Carpet Installation, Remove Water for Carpet, Carpet Sale and Installation, Installer of carpet, Fantastic floor Inc, Wood floor installers, Wood floor installation, Installer of wood floor, Hardwood floor remodeling, Carpet flooring, Carpet remodeling, Ceramic tile Installers, Ceramic tile installation, Installer of ceramic tile, Ceramic tile remodeling, Ceramic tile refinishing, Ceramic tile finishes, Porcelain tile Installers, Porcelain tile installation, Installer of porcelain tile, Porcelain tile flooring, Porcelain tile remodeling, Porcelain tile refinishing, Porcelain tile finishes, Laminate tile, Laminate tile installation, Installer of laminate tile, Laminate tile flooring, Laminate tile remodeling, Laminate tile finishes, Vinyl tile installers, Vinyl tile installation, Installer of vinyl tile, Vinyl tile flooring, Vinyl tile remodeling, Fantastic floor. Inc.