


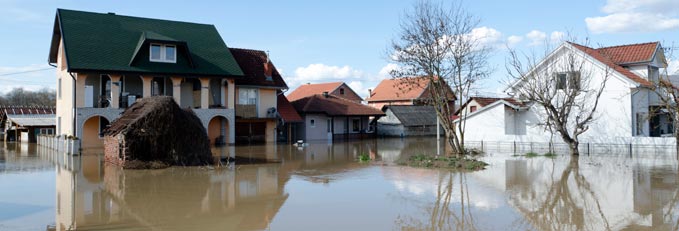
Repairing After Water Damage
1. - Dry it out now. - The very first step, act swiftly on this, is to call your local disaster recovery team to remove any soaked carpet or furniture and set up industrial fans to dry the place out. Don’t put this off until tomorrow! Don’t call your best friend to tell her what happened. Do this now!
Turn up the heat or air conditioning, depending on what time of year it is; otherwise open up the windows. Do anything you can to get the moisture out. It is imperative that you take every precaution to protect your home from further deterioration due to mold and excess moisture. Ask your disaster recovery team members if they recommend an antimicrobial wash for any surfaces that are in question.
2. - Contact your insurance company. - This brings me to my next point, and this is imperative too: Call your insurance company.
3. - Get the company to send an adjuster - as soon as possible to assess the damage. This person will also document that you have taken steps to dry the place out. Work closely with the adjuster. He or she is going to be your best adviser, advocate and friend right now.
4. - Inspect for mold. - Once the insurance adjuster has had a good look at the place, and the fans have completed their task of drying out the moisture, have an inspector take samples from the remaining drywall and ceiling surfaces. These can be tested at a lab to determine if any black mold spores are present. Black mold growing inside the walls, unbeknownst to the dweller, can continue to grow and lead to no end of health issues.
5. - Wait. - Wait for the test results to see if mold spores are present. This can take a few days, but you have to wait. There is no point starting reconstruction until you know how much of the remaining drywall needs to come out.
6. - Begin reconstruction. - Once you have the green light on the mold situation, you can address reconstruction. By this time you may have heard from the insurance company what amount from your coverage it is prepared to pay out. Look for a good professional you can rely on.
7. - Be prepared. - If you are staying at the property, be prepared for life on a construction site. Put up dust barriers between the work zones and living zones. There will be dust and paint fumes for quite some time. Cover the vents in the construction area. If you skip this step, you will circulate all the dust and fumes throughout the property despite attempts to seal them off.
8. - Find a holding zone. - We used the guest room to stack up as much of the furniture as we could. Sealing the door kept the dust at bay here too.
9. - Set yourself up. - One-room living will be the order of the day for a while. Add phone numbers for your favorite takeout restaurants to your speed dial. Be ready for everything to taste like paint and drywall dust.
10. - Make decisions. - Lots of them. Be prepared for plenty of negotiations. Anyone who has lived through a renovation has learned that the design decisions, material selections and details to be negotiated are exhausting. Even for a designer.
11. - Consider upgrades carefully. - You might not realize just how much that big-box-store light fixture bothered you until you have to hire an electrician to rehang it. Then you realize this is the ideal time to upgrade and update a few things. This can be a very slippery slope, so be prepared for it and know where to draw the line.
12. - Review your insurance coverage. - No doubt you will be looking back at this point, wondering what stopped you from increasing your coverage. When we initially took out our policy, we considered all the furniture and personal belongings and didn’t really think they would add up to very much.
13. - Check in. - I made a couple of trips to check in on the progress. Be prepared to travel several times to check paint selections and materials on the site for final approval. Anything can go wrong if you aren’t prepared to follow through on the design details to ensure a great outcome.
Source: Life Lanes
About Fantastic Floors, Inc. We are a successful company with more than 25 years of experience in the market, we have the infrastructure, high quality equipment, materials and supplies to achieve and exceed the expectations of our customers, allowing us to gain the confidence and loyalty for our services.
We have more than 500 residential, 300 properties and 25 commercial customers totally satisfied with our services.
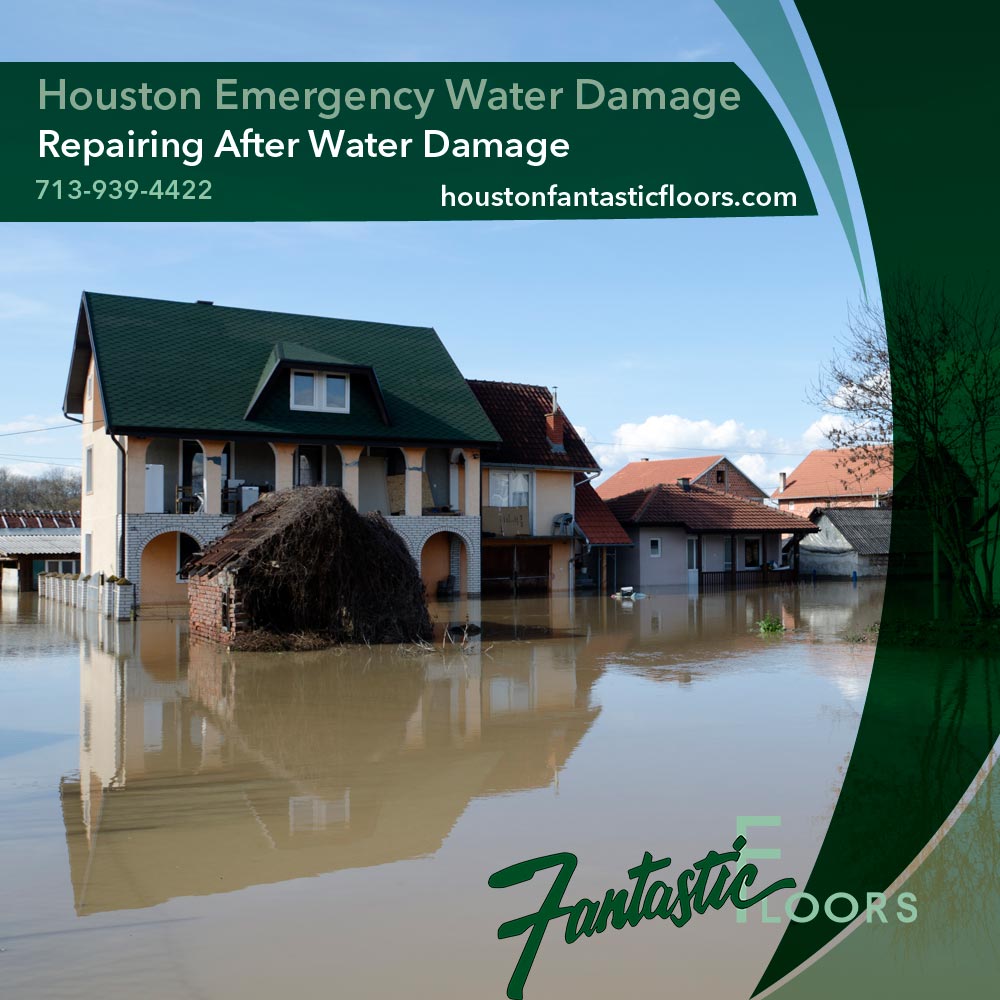
Houston Emergency Water Damage.
Carpet Cleaning in Houston, Best Carpet Cleaning in Houston, Best Carpet Shampoo, Cheapest carpet Cleaning, Top Rated carpet Cleaning, Affordable Carpet Shampoo, Cost of Carpet Cleaning, Local Carpet Cleaning, Residential Carpet Cleaning, Carpet Cleaning Companies, Steam Clean, Special Carpet Cleaning, A/C Duct Cleaning, Best Carpet Installation, Professional Carpet Installation, Top Rated Carpet Installation, Cheap Carpet, 10 Best Carpet Installers, Custom Carpets, Carpet Installation, Carpet Sales, Carpet Contractors, Houston Carpets, Carpet Companies, Commercial Carpet, Best carpet Installation, Best Floor Installation, Professional Floor Installation, Top Rated Floor Installation, Cheap Home Flooring, 10 Best Floor Installers, Custom Floors, Carpet Installation, Flooring, Flooring Contractors, Houston Floors, Flooring Companies, Cheap Flooring Pros, Commercial Carpet, Commercial Flooring, Best carpet Installation, Wood Floor Installation, Hardwood Floor Installation, Laminate Installation, Floor Installation, Carpet Sale, Ceramic Tile Sale, Porcelain Tile Sale, Wood Floors Sale, Laminate Sale, Sheet Vinyl Sale, Vinyl Tile Sale, Vinyl Plank Sale, Fantastic Floors Inc.